Mine was only rattle canned (never had access, time or money to a plater unfortunately) but it tidied up.
Mezo.
Bazmonaut's 3AJ rebuild
-
Mezo

- Dashingly Handsome

- Posts: 6108
- Joined: Wed Mar 23, 2011 11:01 am
- What Bike or Bikes Do You Own?: Kymco agility 125 ;-)
- Previously Owned Bikes: Honda SS50, Suzuki TS50, Honda CB100, Honda CR125RZ, Yamaha YZ125, Kawasaki KX250, Suzuki TL1000S, Ducati 900SS, Ducati 900SL, a few Tenere`s.
- Location: Queensland Australia
- Contact:
Re: Bazmonaut's 3AJ rebuild
"A wise man makes his own decisions, an ignorant man follows public opinion"
-
bazmonaut
- On the ladder

- Posts: 68
- Joined: Mon Apr 06, 2015 9:10 pm
- What Bike or Bikes Do You Own?: 3AJ Tenere
- Previously Owned Bikes: Suzuki GS250
Yamaha XT250 (twin shock 1979)
Honda VF750
Suzuki GSXR1100
Yamaha SRX600 (twin shock)
KTM Duke 640
Honda ST1100 Police - Location: Devon, UK
Re: Bazmonaut's 3AJ rebuild
So yeah it's been a while. I have been working on it, honest! I have been a bit distracted by life which seems to roll on regardless of rebuilds...
I have painted the engine bits, and baked them in the oven. Came out really nice overall though does have some chips. Not too bothered because if everything goes according to plan then it will spend the rest of its life dusty and dirty.
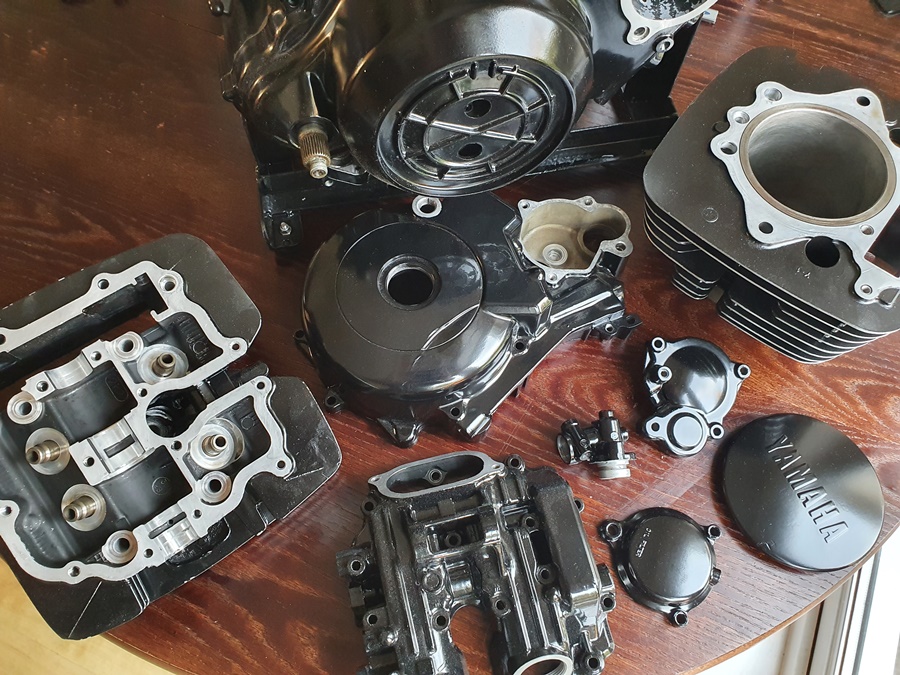
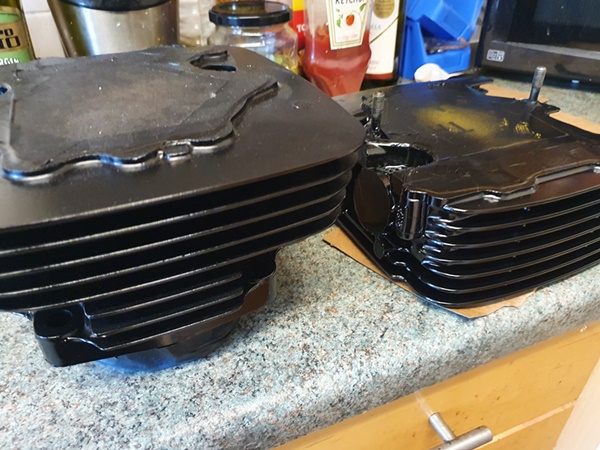
Masking took a while but it all came out quite nice, so worth it.
I have my doubts as to how well the paint will stick. It's VHT brand engine enamel. This is my fault as I prepped the surfaces with a wire brush on a dremel. Didn't have the money for blasting, so I thought I would give it a go by hand. It's a lot of work and the surface was still stained at the end - blasting is worth it.
I sanded the fins 'a la Mezo' - with a 240 grit on a finger sander thingo, and then 300 grit flap wheel on the dremel. The dremel gave a really nice finish, while the finger sander cut through the paint quickly and was much better at dealing with the paint gumming up the sandpaper. I would do it again like this, though there is some chipping of paint on the fins.
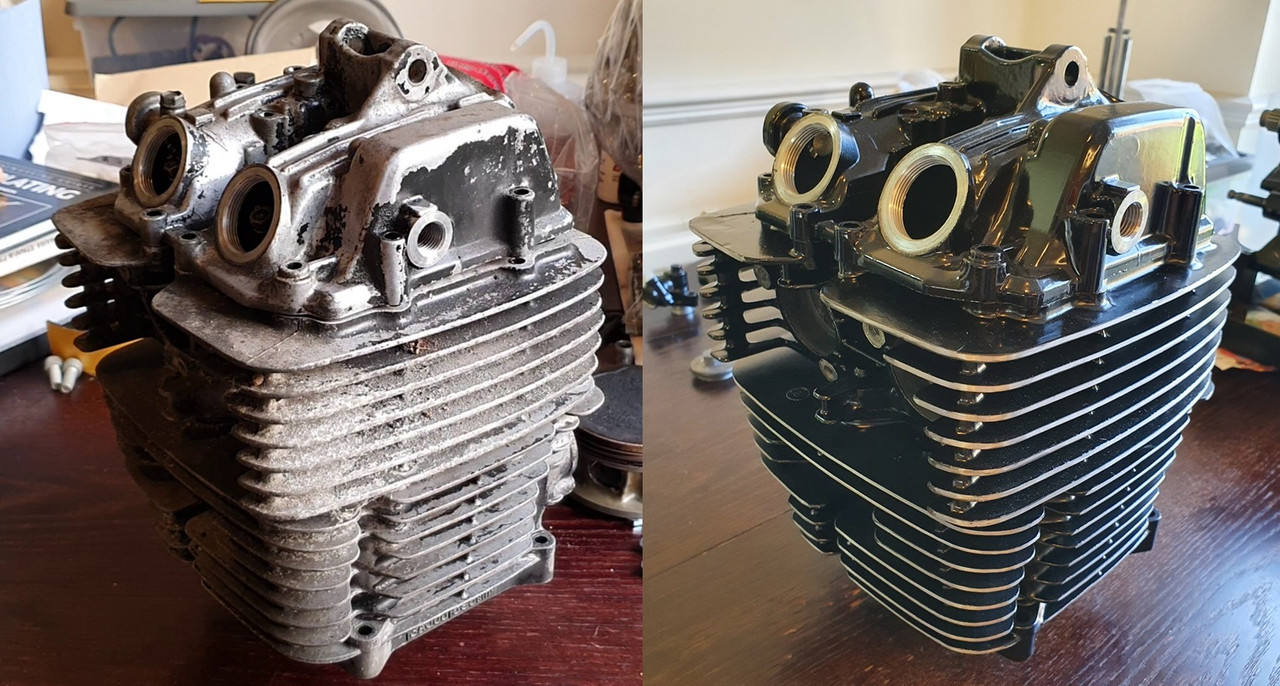
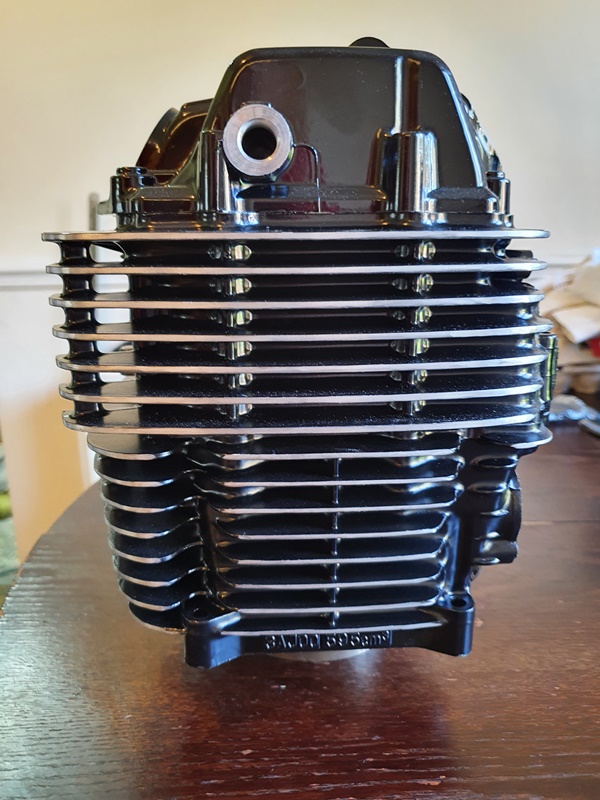
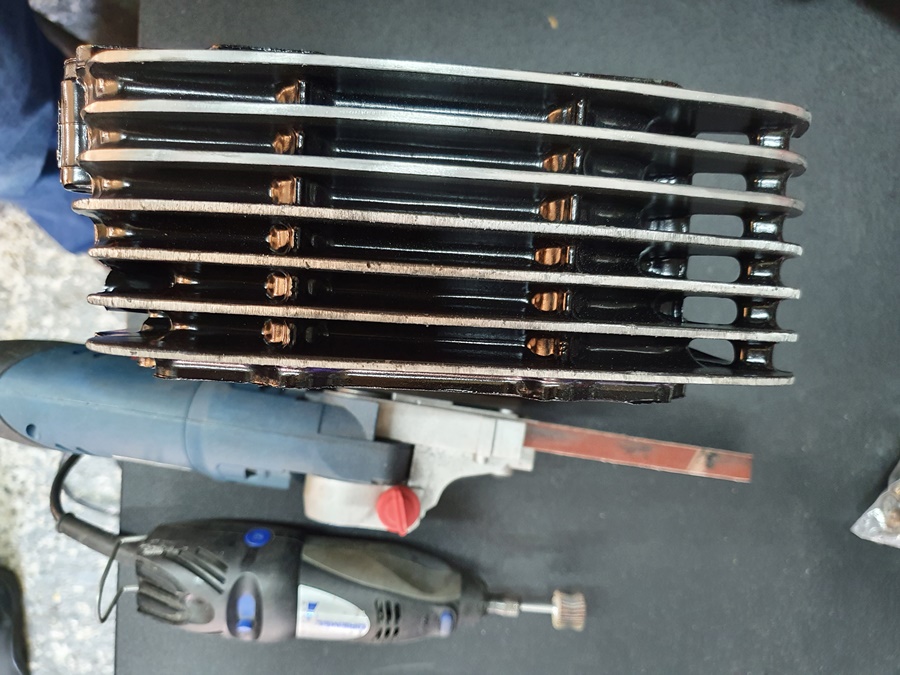
The top three fins have been finished with the dremel, while the others are still a bit rough as they have only had the finger file.
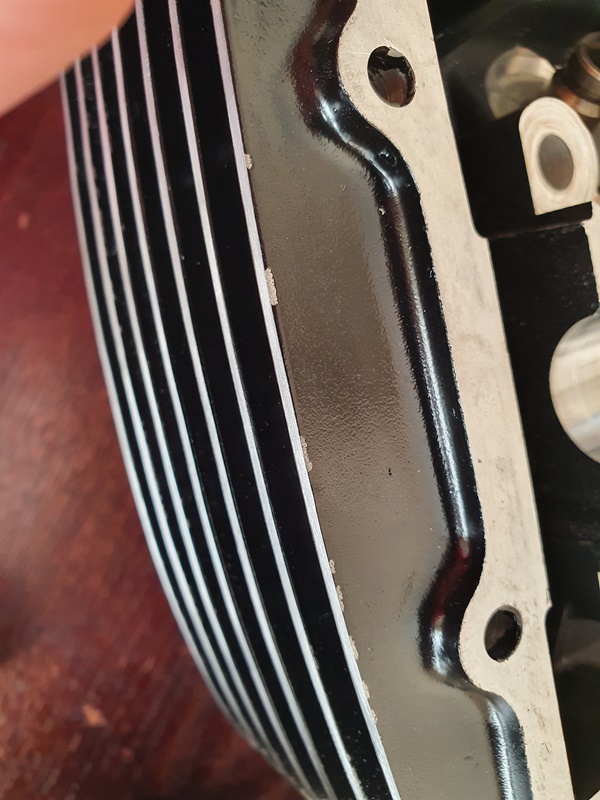
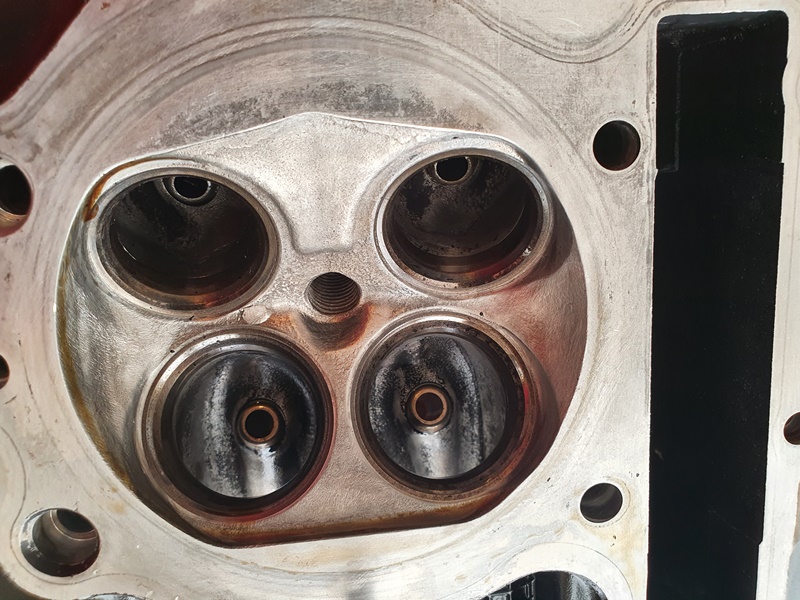
I cleaned out the head with brass and steel wire brushes on a dremel. Didn't go crazy just cleaned it out. The exhaust valve seats had some spots of flakey corrosion - not on the seat itself but on the next facets. I broke these off with a little pick then finished with the wire wheel. Next job on the head is to clean the valves and lap them.
...then gap the rings and install the barrel. I want to get the engine done in the next couple of weeks, so that I can move onto painting the tank and plastics before winter gets here and it becomes too cold for painting.
Now have to decide whether I am going for stainless bolts for the engine cases. Also, I am pretty sure that the paint will crack when a bolt is screwed into it - I have a benchtop mill and a counterbore bit, I could just lightly cut away the paint around the holes. Any ideas?
B
I have painted the engine bits, and baked them in the oven. Came out really nice overall though does have some chips. Not too bothered because if everything goes according to plan then it will spend the rest of its life dusty and dirty.
Masking took a while but it all came out quite nice, so worth it.
I have my doubts as to how well the paint will stick. It's VHT brand engine enamel. This is my fault as I prepped the surfaces with a wire brush on a dremel. Didn't have the money for blasting, so I thought I would give it a go by hand. It's a lot of work and the surface was still stained at the end - blasting is worth it.
I sanded the fins 'a la Mezo' - with a 240 grit on a finger sander thingo, and then 300 grit flap wheel on the dremel. The dremel gave a really nice finish, while the finger sander cut through the paint quickly and was much better at dealing with the paint gumming up the sandpaper. I would do it again like this, though there is some chipping of paint on the fins.
The top three fins have been finished with the dremel, while the others are still a bit rough as they have only had the finger file.
I cleaned out the head with brass and steel wire brushes on a dremel. Didn't go crazy just cleaned it out. The exhaust valve seats had some spots of flakey corrosion - not on the seat itself but on the next facets. I broke these off with a little pick then finished with the wire wheel. Next job on the head is to clean the valves and lap them.
...then gap the rings and install the barrel. I want to get the engine done in the next couple of weeks, so that I can move onto painting the tank and plastics before winter gets here and it becomes too cold for painting.
Now have to decide whether I am going for stainless bolts for the engine cases. Also, I am pretty sure that the paint will crack when a bolt is screwed into it - I have a benchtop mill and a counterbore bit, I could just lightly cut away the paint around the holes. Any ideas?
B
-
Mezo
- Dashingly Handsome
- Posts: 6108
- Joined: Wed Mar 23, 2011 11:01 am
- What Bike or Bikes Do You Own?: Kymco agility 125 ;-)
- Previously Owned Bikes: Honda SS50, Suzuki TS50, Honda CB100, Honda CR125RZ, Yamaha YZ125, Kawasaki KX250, Suzuki TL1000S, Ducati 900SS, Ducati 900SL, a few Tenere`s.
- Location: Queensland Australia
- Contact:
Re: Bazmonaut's 3AJ rebuild
Nine years ago i was looking at pics (not just XT`s) wondering whether or not to sand them? glad i did it in the end i like the look, it breaks up the blackness & gives a bit of detail to the engine i reckon.
That video "Well its done now" has had 46,000 views for some reason?

Anyhow the job came out lovely.

Mezo.
"A wise man makes his own decisions, an ignorant man follows public opinion"