Page 3 of 11
Re: Ott's 1VJ
Posted: Thu Feb 25, 2021 1:53 pm
by j0epere
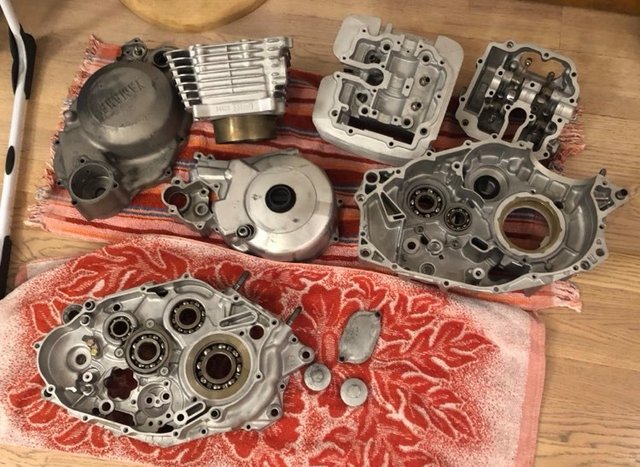
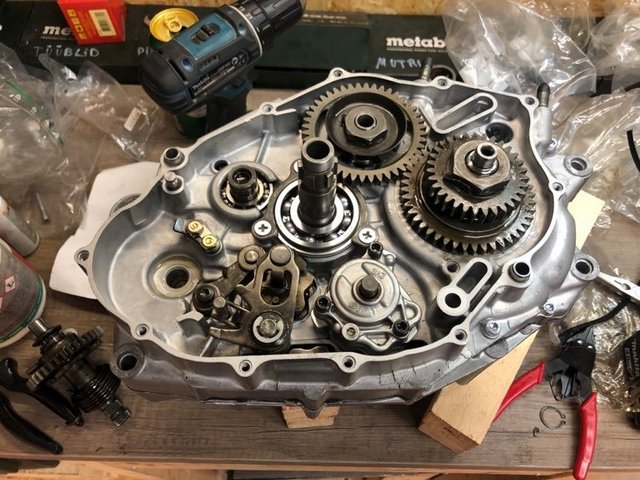
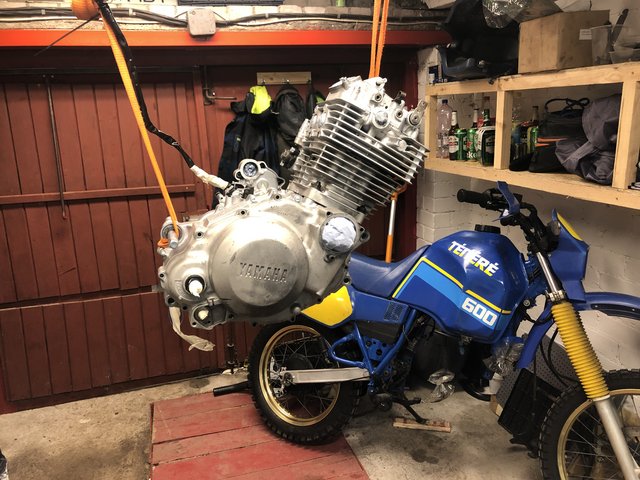
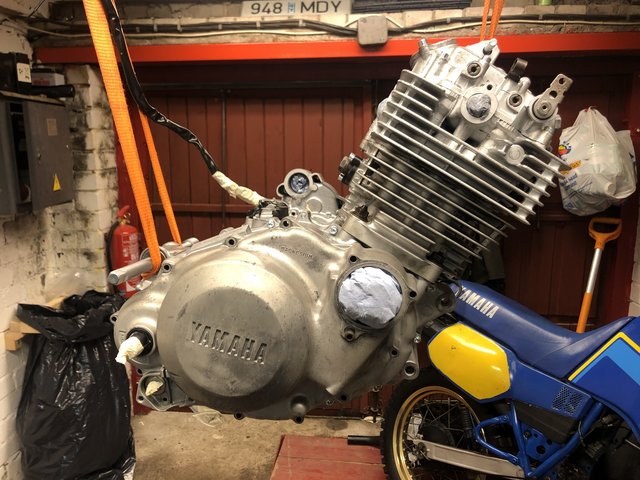
So engine is slowly starting to look like an engine again, atleast the bottom half. Got all the parts back from sodablasting and the guy did a pretty good job. Blasted everything inside and out so no more factory paint to be found, took me a while washing everything carefully to get rid of the soda residue. Wife though I was nuts using her hairdryer to get it all nice and dry

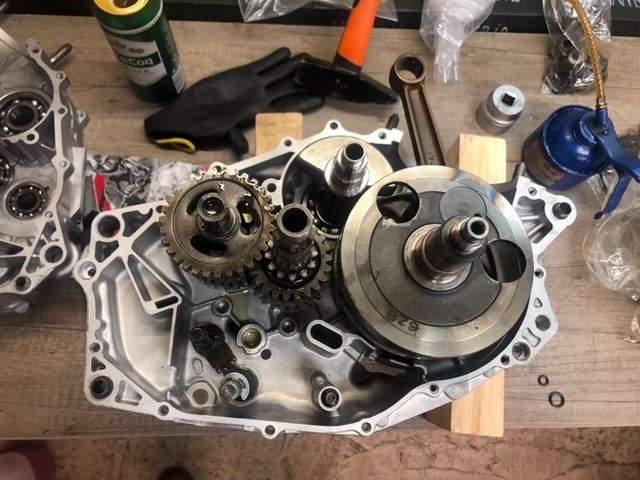
For the better I changed the pitted third gear, added a 3AJ oil pump, new balancer shaft, and changed some bearings (crankshaft, balancer shaft, Clutch axle). Took me an evening to get the bottom half together, also this Youtube video was of great help
https://youtu.be/ZeVyoDGSdoo
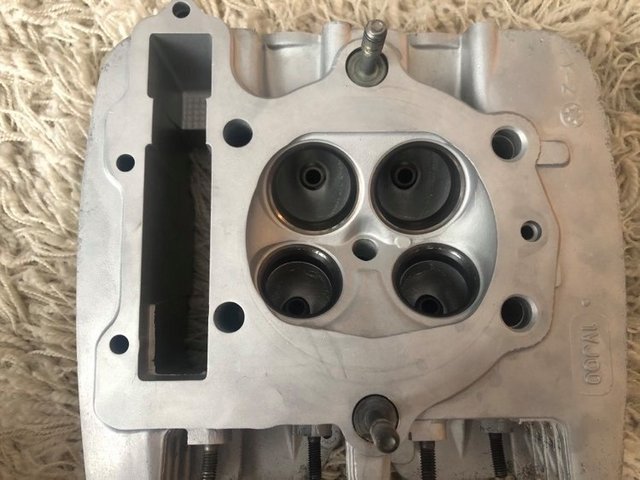
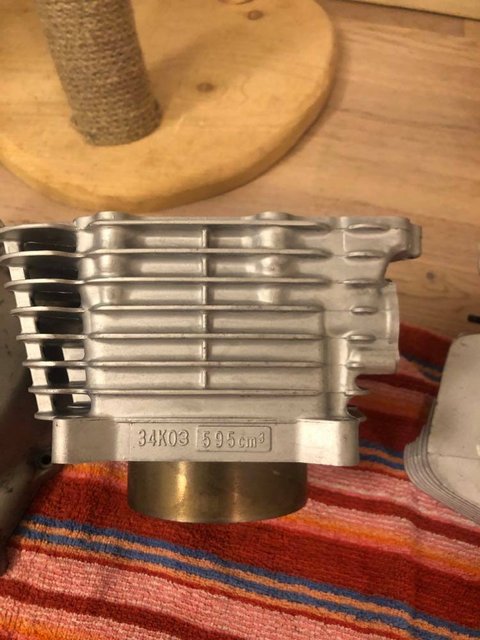
Next step I will have to decide what to do with the Piston/Cylinder. The current bore measured 97.07mm (Wearout limit 97.1mm) so I think it's better to get a new piston in and I'm between two choices:
1)Overbore to 98MM and put a Wiseco/wössner piston in. More expensive + requires a bigbore headgasket + no more room to bore afterwards.
2)Resleeve (buy a used 95mm cylinder and hone/bore if needed) and put the OEM/ProX piston on. A lot more hassle, but gives me room to rebore in the future.
Re: Ott's 1VJ
Posted: Tue Mar 09, 2021 2:12 pm
by j0epere
So I instead went for a third option and bought myself a Cylinder sleeve and STD ProX piston from KEDO. Hoping the parts to arrive this week so I would have some hope getting it all together this month even

Have any of you changed the cylinder sleeve yourself? I've seen videos of guys doing it Macgyver style on Youtube, but I'm not sure if it's the way to go. Also do the new sleeves come honed so it's just install and go?
Ott
Re: Ott's 1VJ
Posted: Mon Mar 15, 2021 11:21 am
by j0epere
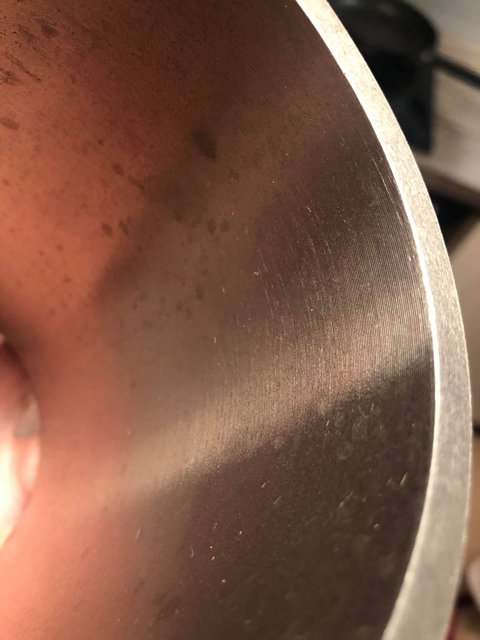
I guess I have to answer myself on the last question. The new Cylinder sleeve came with a very rough surface that definately needs to be bored to spec. The cylinder is already in shop for sleeving and boring, after that I'm also waiting for the camshaft to arrive and I'm all ready to assemble the beast.
Re: Ott's 1VJ
Posted: Mon Mar 15, 2021 3:28 pm
by scottieh
Here are some notes on how to replace sleeves from board member ActionmanMelb.
“Heat the barrel in the oven or with a big propane gas torch and press out old sleeve. Only 3 or 4 tons pressure required, which is tiny in press land.
Heat the old barrel with sleeve to 300f and press the sleeve out. Keep the barrel warm whilst you have been cooling the new sleeve in the freezer.
Drop the cold liner into the hot cylinder and it should almost fall in flush. May need a little help with the press.”
And somewhere on this forum are photos of ActionMan monitoring the barrel with an infrared gun while pressing in the new sleeve to ensure it doesn’t overheat. Hope this helps a little!
Re: Ott's 1VJ
Posted: Thu Mar 18, 2021 8:12 am
by j0epere
Thanks Scottie!
Since the new sleeve will need drilling anyways I will leave also the sleeving for the workshop. Actually took the pieces to a local engine workshop and they initially quoted me around 100EUR for the whole deal, but called my back after a few days and said they could do it for 300 instead

Obviously I took my business elsewhere and I'm waiting to get the bits back by the end of the month.
The final piece, a camshaft also arrived yesterday and I'm pretty exited to get everything back together soon.
Re: Ott's 1VJ
Posted: Fri Apr 02, 2021 8:31 pm
by j0epere
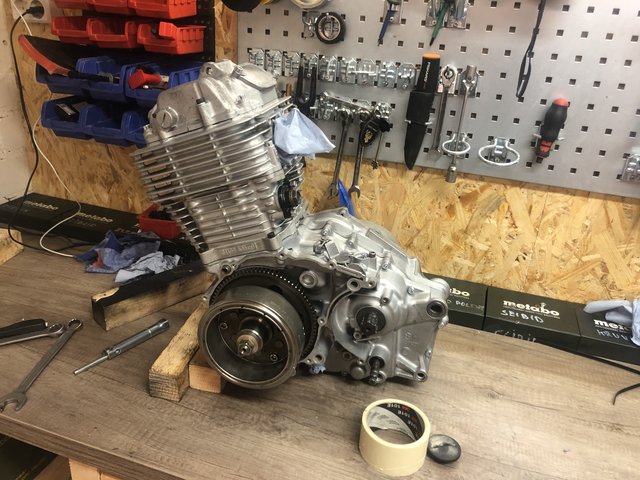
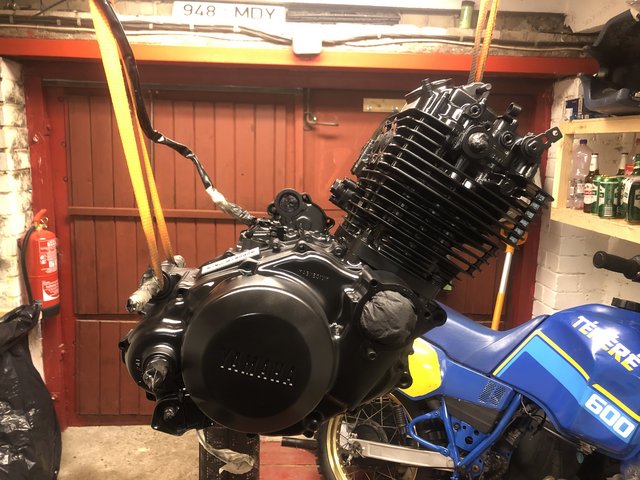
Can finally say that the engine is back together and I now only need to add the final bits and pieces and it's ready for installation.
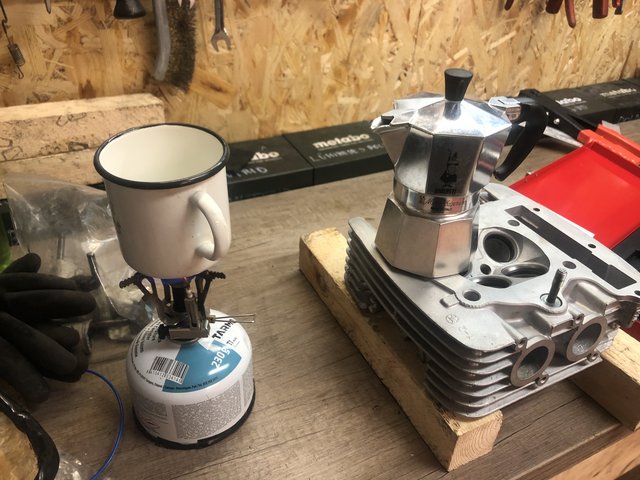
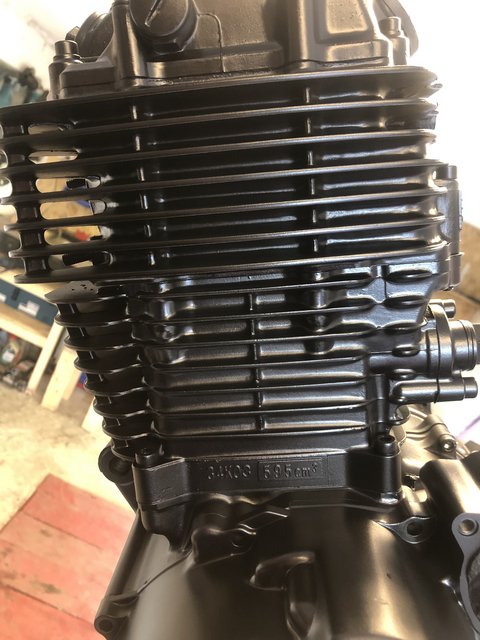
The weather is still quite chilly in Estonia so for the painting process I had to heat up the garage the whole day, and an hour prior to the painting I put a radiator quite close under the engine to get all the metal to proper temperature. I tried "curing" it the same way, radiator under the engine for 2 hours + some extra heat with the heat gun. It's looking pretty good for now, but I'm still a bit skeptical how it's gonna hold up as I didn't use the primer.
I used the VHT "flat black" engine enamel and it's looking pretty damn good, around three quarters of a can was sufficient to cover the engine according to the manual (2 light coats +1 thicker).
Haven't yet counted all the costs related to the engine overhaul, but hoping to put a list up for future generations to refrence from. At first I naively thought I can get away with roughly 300-500 Euros, but I'm pretty sure I'm now north of a thousand..
Re: Ott's 1VJ
Posted: Mon Apr 05, 2021 7:46 pm
by j0epere
The engine is back on and overall I'm pretty please with the result. The paint got a few nicks during the process and the bolts also flaked a bit of the paint off. I will see how the paint lasts over the coming months and If not pleased with the look, I'll reblast and properly prime, paint and cure to see if it's better this way.
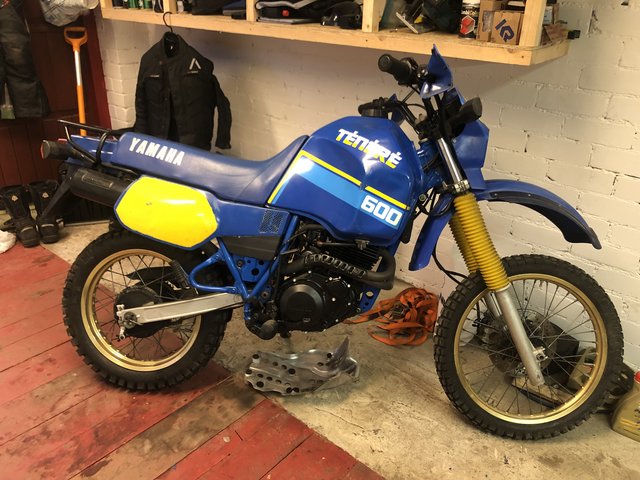
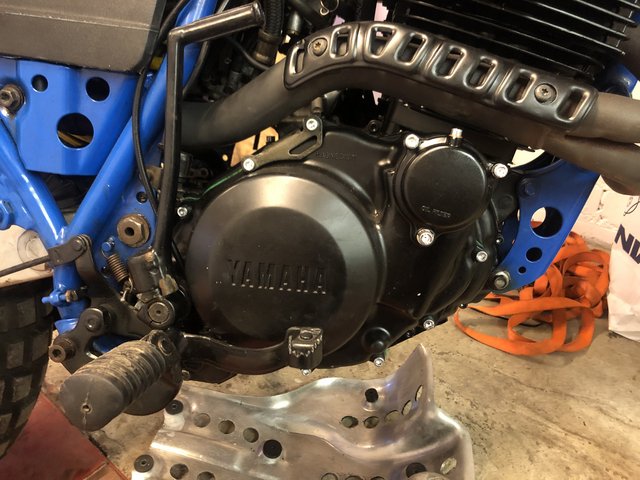 Also a few problems came up after starting the engine that will need addressing
:
Neutral light is always on, regardless of what gear it's in. I think it's because I changed the wire leading to the neutral switch and it was a bit thicker than the original one. I had to use force to get the new wire into the crack in the stator cover, I'm afraid that it damaged the wire insulation and it's now grounded to the frame.
The gears are going in quite hard once the engine is running (all good once the engine is not workin). Likely the clutch cable and/or the adjustable nut on the clutch basket needs adjusting.
And the biggest issue is likely in the carbs. The bike Idles pretty good, but as soon as I gave it some gas it started bogging heavily and giving me black smoke. The situation got a little better when I removed the airbox lid(I did the airbox mod, but instead of removing the whole lid near the nuts, i cut a about 1/2 hole in it). Looks like the bike is running VERY rich.
Do you have any idea where should I be looking at with a problem like this? I have a few ideas, but not sure where to start from:
1)Maybe the secodary carb is coming in too early? - I'm not 100% sure how the secondary carb should be adjusted
2)The needles are both in middle position, should I try lowering these?
3) Can float level affect this? The carbs flooded alot when I first got the bike, I adjusted the float per manual and the flooding went away.
4) Any possibility that there's a problem with choke assy?
5) Needle or jets worn? - Both original size according to manual(I have a 3AJ manual, 1VJ one not available as far as I know)
Thanks!
Ott
Re: Ott's 1VJ
Posted: Tue Apr 06, 2021 7:16 am
by Bowler
Hi Ott,
The engine looks really nice! I've used VHT engine paint for my brake calipers and it seems to hold up really nice. Officially you do need to bake the parts, but I just put a heater under the calipers, which seems to work too (brake fluid doesn't remove the paint thusfar). I also did not use primer.
For your carbs I'd check that everything is original and clean (possibly clean it in an ultrasonic cleaner) and then look for wear. The secondary carb adjustment is only to the butterfly valve, the gas slide itself will only open with enough air flow.
Cheers,
Bowler
Re: Ott's 1VJ
Posted: Fri Apr 09, 2021 7:56 pm
by j0epere
Thanks
Bowler wrote: Tue Apr 06, 2021 7:16 am
For your carbs I'd check that everything is original and clean (possibly clean it in an ultrasonic cleaner) and then look for wear. The secondary carb adjustment is only to the butterfly valve, the gas slide itself will only open with enough air flow.
Thanks for the tip Bowler, I already gave a good cleaning to the carb and fitted the repair kit's, but I now see that the main jet may be the problem.
According to the manual the Main Jet size is 155(165 for germany), but unfortunately I'm using the 3AJ manual since 1VJ one is not available.. My main jet is currently 160 and I thought it was OK as per manual. I lowered the needles to the lowest position yesterday and the situation got a little better, but still pretty shit. I can rev it out slowly, but still impossible to ride because the bike wants to die as soon as I start releasing the clutch.
According to the part fiche and other sources the main jet for 1VJ should be 140 or 145, so I will give smaller main jet(140) a try tomorrow and get the needles back into middle position.
Ott
Re: Ott's 1VJ
Posted: Sat Apr 10, 2021 8:52 am
by Bowler
You should be able to ride away normally, even with a too big main jet. The main jet doesn't start to work until about half WOT (wide open throttle). I'd check the other jets as well.