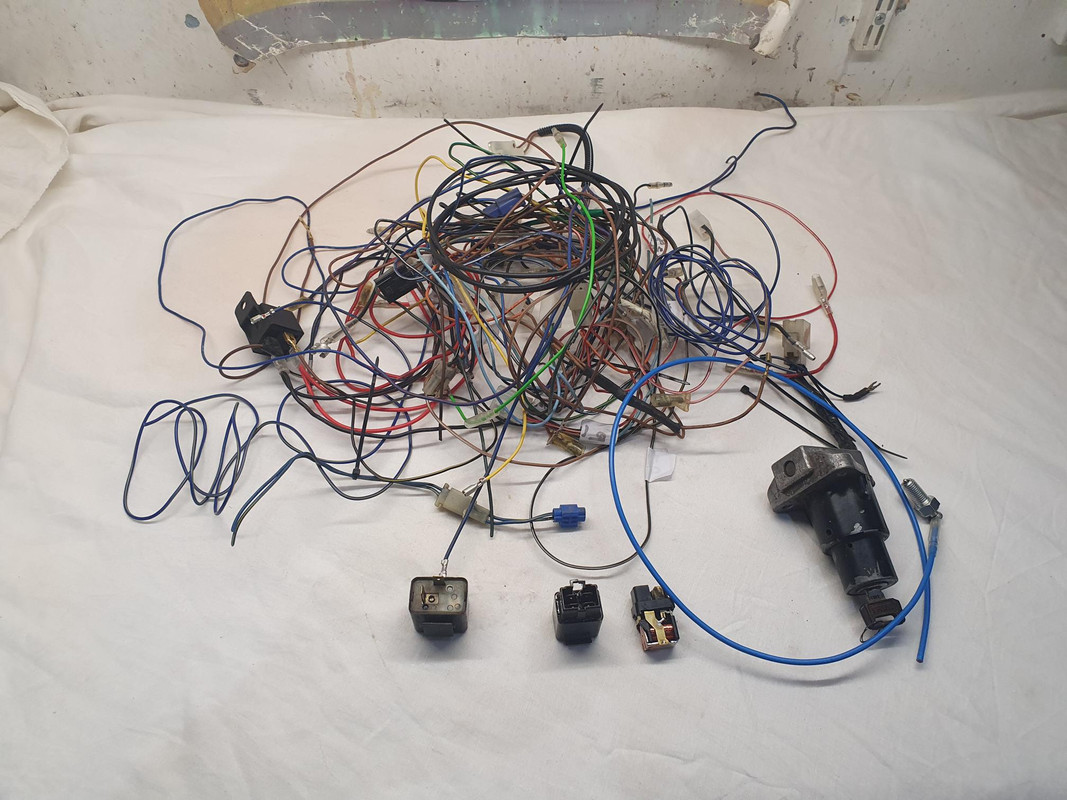
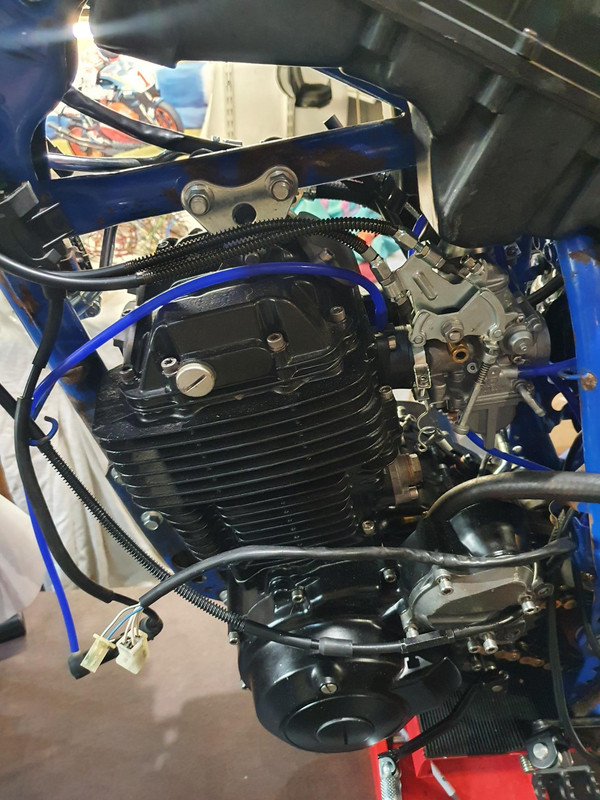
So after a period of inactivity caused by finishing the blue 1VJ and not having enough space in the garage, I've got this white 1VJ on my home made work bench and have started on it again.
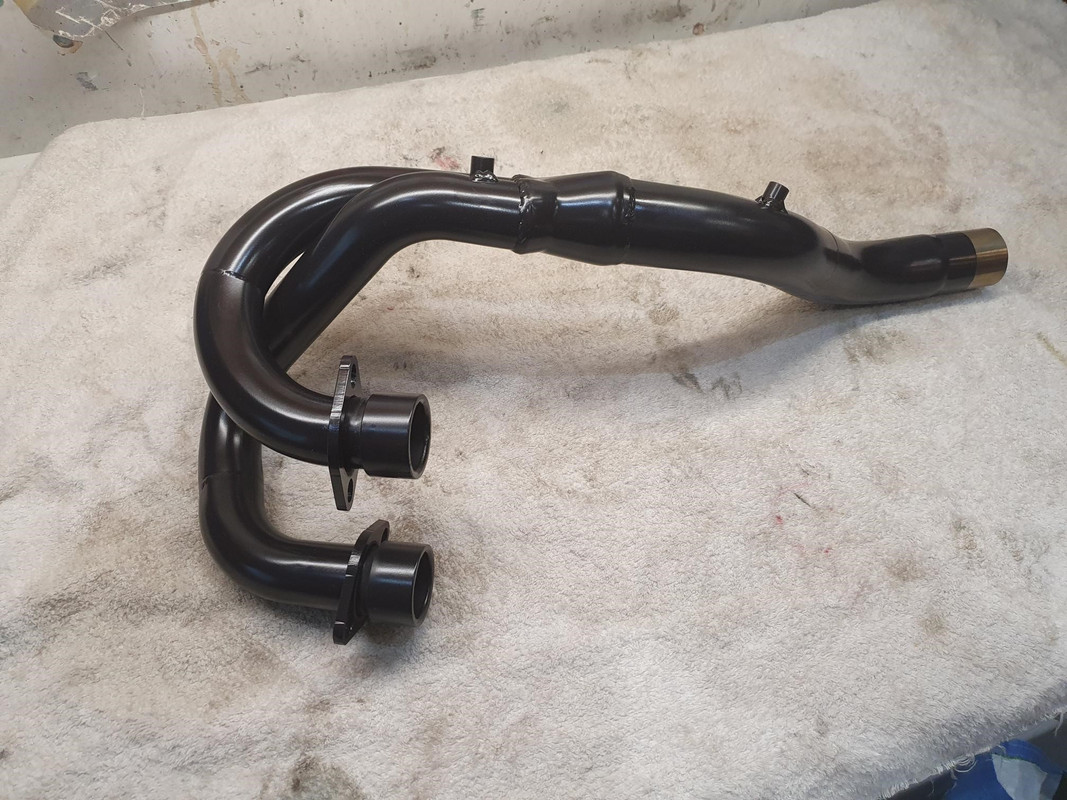
Nice ceramic coated headers or manifold if you prefer.
And as always a combination of the Yamaha parts book, Clymer manual and this helps it go together correctly https://www.youtube.com/watch?v=q95R4Drw_1U
Although for the anoraks among us he does make a mistake.
You see him put the timing chain guides in before the chain, and he loctites the rear blade mounting screws in, then the video cuts to him putting the timing chain on. You can't do that as the little tang to stop the chain coming off the rear tensioner blade and around the gear stops you doing that. So chain on first then Loctite the rear blade mounting screws.
I've been working on this old girl in conjunction with sorting the carbs on the blue bike.
I'll try and get some photos up to show the progress....maybe too strong a word.
So eventually I've got some photos taken and uploaded, it's been that long I'd forgotten which website I'd used for uploading.
So thanks very much to a well respected member on here....
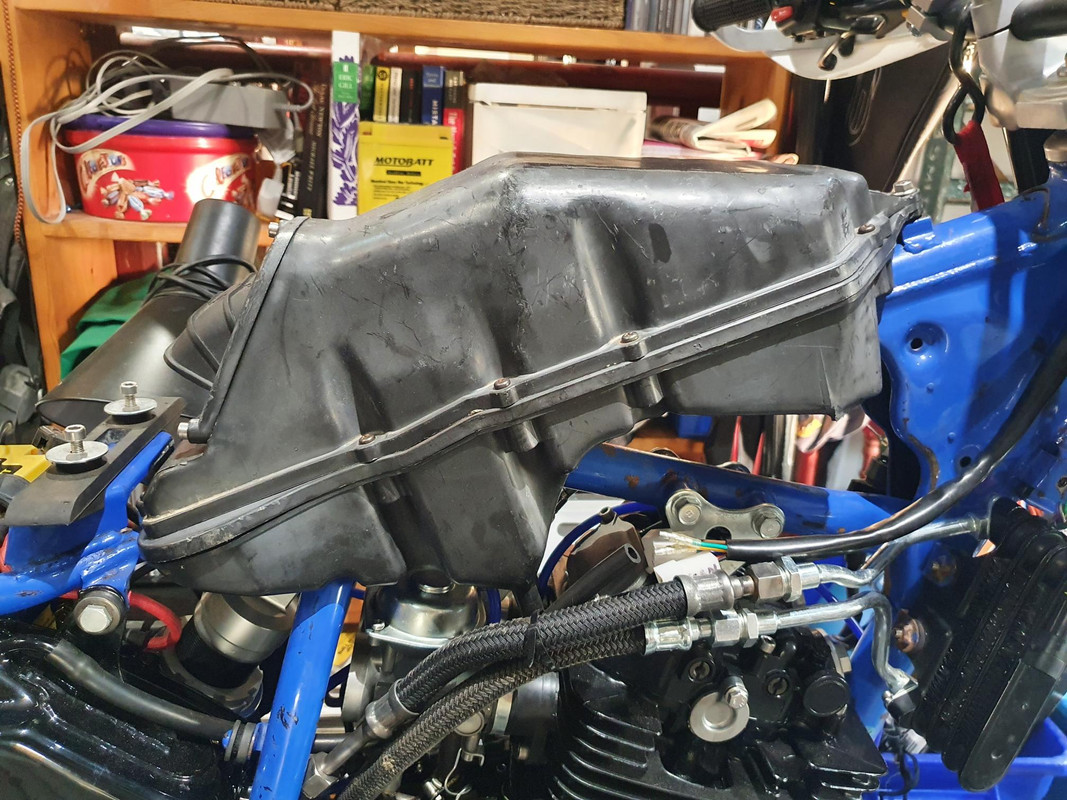
We have a 3AJ airbox on my hybrid.
And here's where I've gone off piste a little...
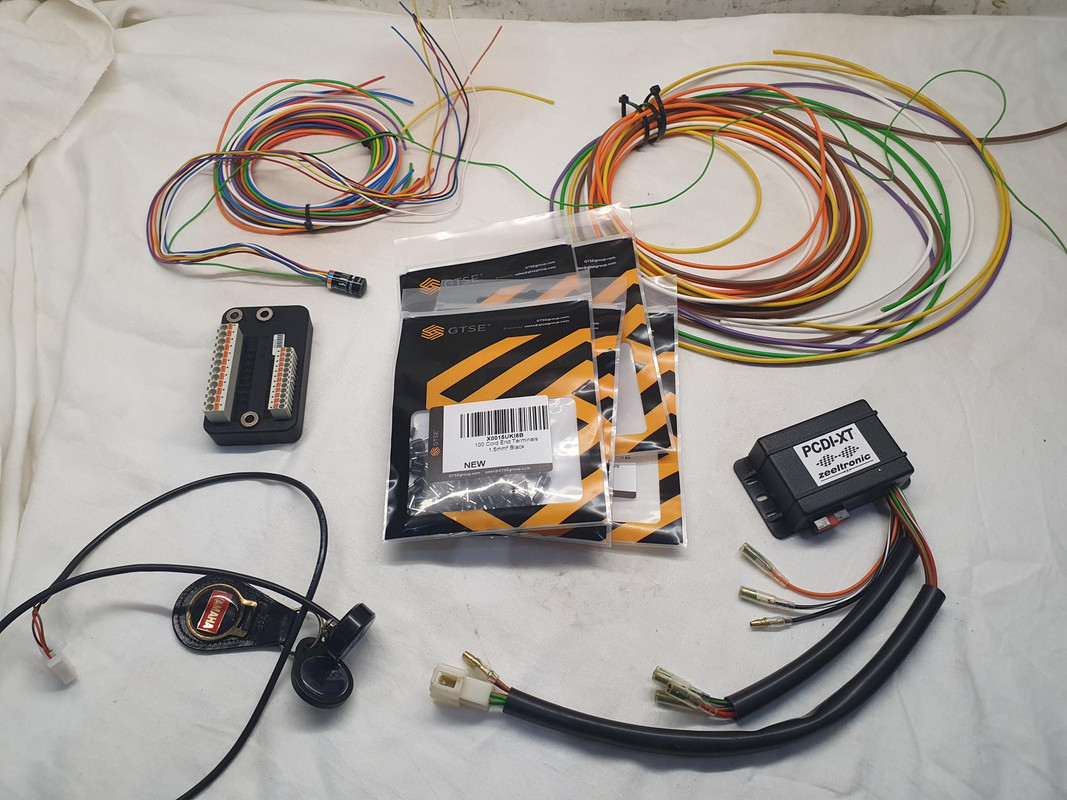
So in the above photo there's the following clockwise:
Aftermarket Zeeltronic CDI controller
Motogadget M Lock
Motogadget M unit Blue for the electric control
Motogadget mo.button
Brand new wires
Varouis connectors
Just so show I have been making progress in other areas.
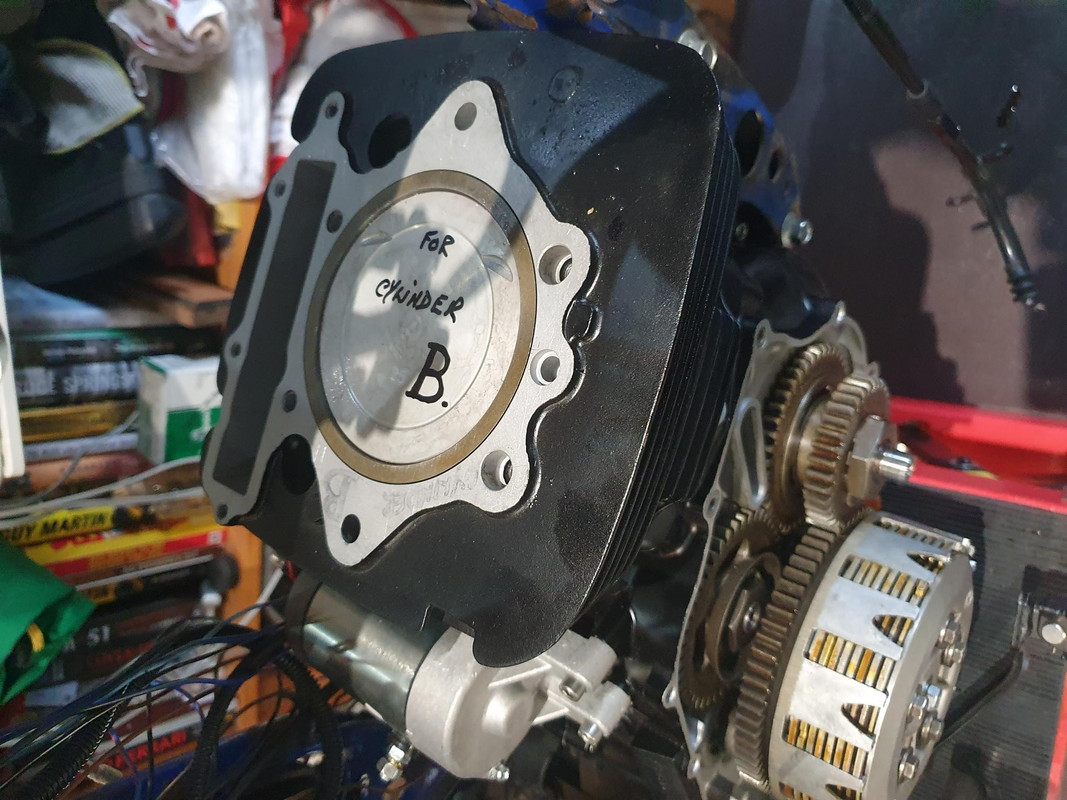
Engine fully up together and freshly rebuilt carbs, all new internals, genuine wherever possible.
I have already had these carbs on the blue 1VJ to make sure they're set up correctly.
The story behind the electrics.
I started with the old loom, got everything working correctly, but every time I went back to it there was a niggle. So I cut back to better less corroded wire, put new terminals on, and still wasn't happy.
So then I looked at rewiring completely for total reliability.
But I wanted to use the M Lock as I didn't want to have to incorporate an ugly standard lock unit on to the MX top yoke.
I wanted clean electrics with nothing extra that may give grief.
I also had an M unit Blue on the shelf that I had bought for a TZR350 4DL project.
I bought the M Button which gives a one wire input to the M unit from the front end switches, again really cleaning everything up.
Started on the set up with the above stuff and I'm really impressed with the connectivity. It has some really flash stuff that I won't go into here but the usability is really good. It's connected to my phone and can be started, located on a map, notified if stolen or fallen over.